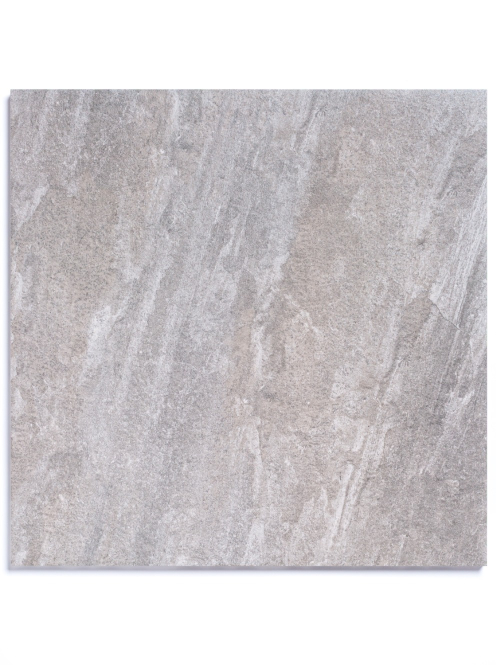
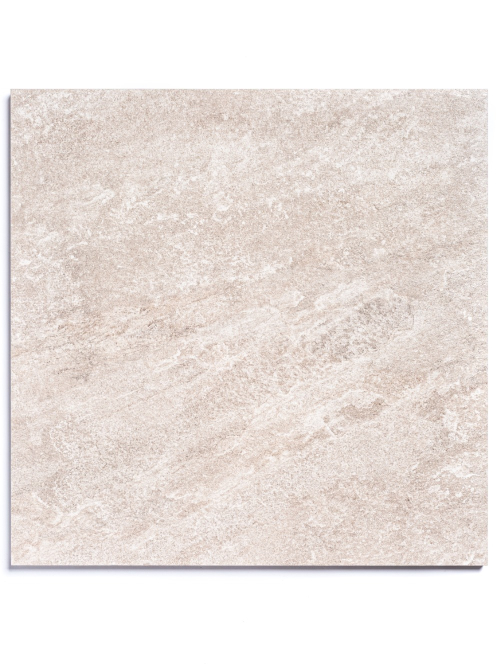
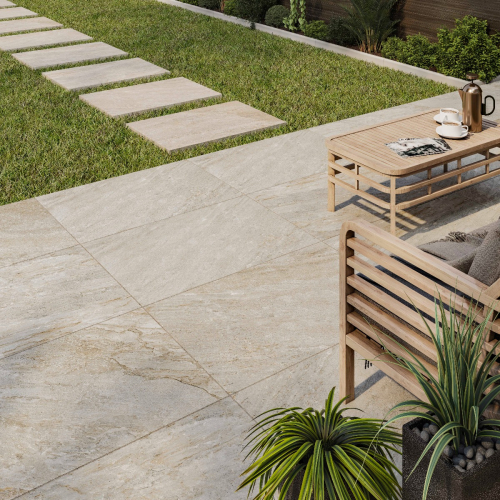
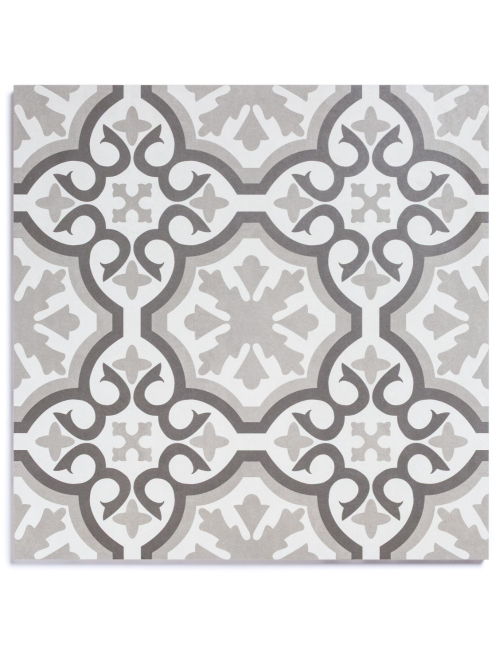
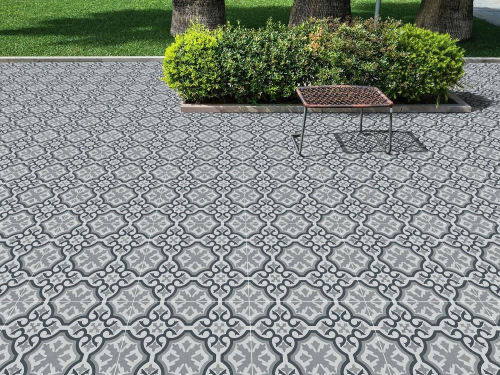
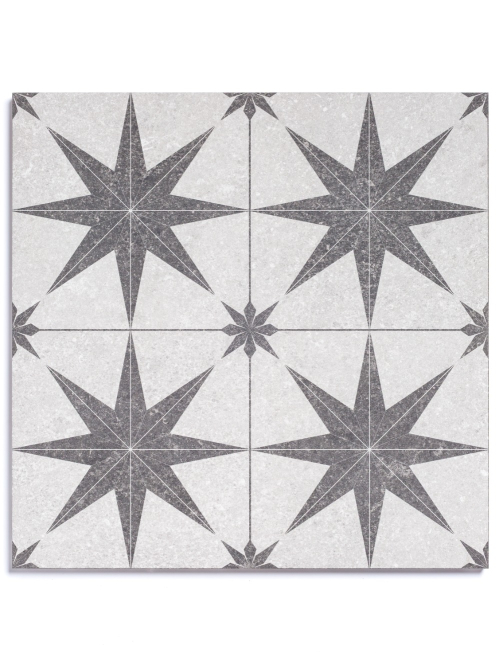
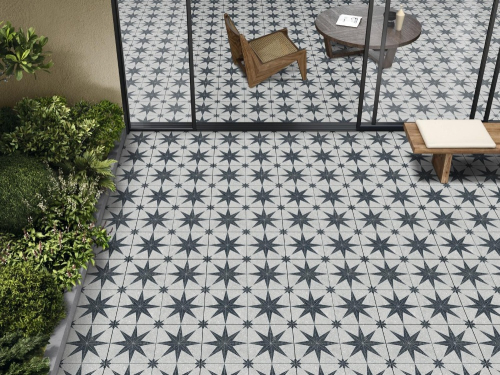
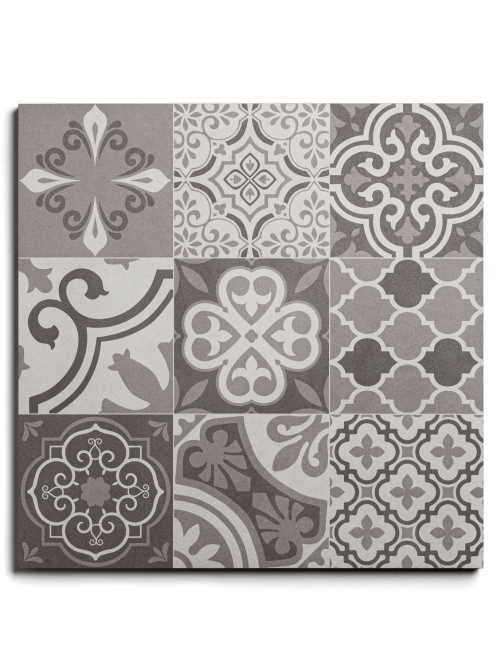
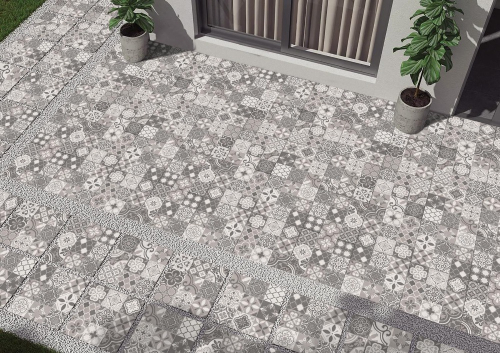
600x600mm Porcelain Paving
600x600mm Porcelain is an extremely popular size option for outdoor garden patio paving slabs as it is square meaning it can be used in either a grid pattern or laid on a brick bond pattern. It is also very popular with homeowners doing a DIY project and landscapers due its size 600mmx600mm outdoor porcelain paving is very easy too handle and move around the site, unlike the larger porcelain garden tile slabs that are on offer. We have a huge choice of colours of 600x600mm porcelain paving slabs such as grey, black, anthracite, beige and buff. We are certain you will find a perfect porcelain paving to suit your garden patio at home.
If you would to like to find out more about our Indian Sandstone Paving Stones or Outdoor Porcelain Paving Slabs please contact one of our paving experts today.
Speak to a member of our friendly sales team today on 01482 688008 or Email sales@meltonstone.co.uk
-
 (9)From£33.50inc VAT Per M2In Stock - Immediate dispatch FREE Nationwide Delivery*
 -
 (9)From£33.50inc VAT Per M2In Stock - Immediate dispatch FREE Nationwide Delivery*
 -
 (4)£34.70inc VAT Per M2In Stock - Immediate dispatch FREE Nationwide Delivery*
 -
 (4)£34.70inc VAT Per M2In Stock - Immediate dispatch FREE Nationwide Delivery*
 -
 (5)£34.70inc VAT Per M2In Stock - Immediate dispatch FREE Nationwide Delivery*
600x600mm Porcelain Paving
Are 600x600mm porcelain pavers easy to lay?
The ease of laying 600x600 tiles depends on various factors, including your experience level, the condition of the subfloor, the type of tile adhesive used, and the specific installation requirements. However, in general, 600x600 tiles are considered relatively easy to lay due to their larger size.
Here are a few reasons why 600x600 tiles can be easier to install:
Size: The larger size of 600x600 tiles means there are fewer individual tiles to handle and lay compared to smaller tiles. This can speed up the installation process and reduce the complexity of aligning and spacing multiple tiles.
While 600x600 tiles may be considered easier to lay compared to smaller tiles, it's important to note that proper installation techniques and attention to detail are still essential for a successful outcome. It's recommended to follow the manufacturer's guidelines, consult professional installers if needed, and ensure you have the necessary tools and equipment to handle and install the tiles correctly.
What pattern can I lay my 600x600mm porcelain pavers?
Porcelain tiles offer a wide range of laying patterns that can create various visual effects and enhance the overall design of a space. Here are some different porcelain tile laying patterns commonly used:
1. Straight Lay: Also known as a "stack bond" or "grid" pattern, the straight lay is the most common and straightforward tile installation pattern. Tiles are aligned in a grid-like formation, with each tile's edges meeting at a 90-degree angle. This pattern creates clean, modern lines and is suitable for both small and large spaces.
2. Diagonal Lay: In a diagonal lay pattern, tiles are set at a 45-degree angle to the walls. This pattern adds visual interest and can make a room appear larger. It works well with both square and rectangular tiles.
3. Herringbone: The herringbone pattern involves laying tiles at a 45-degree angle but in a staggered "V" shape. This pattern creates a zigzag effect and adds a sense of movement to the space. It's commonly used with rectangular tiles to achieve a classic, elegant look.
4. Chevron: Similar to the herringbone pattern, the chevron pattern also involves a 45-degree angle but with tiles cut at the ends to form a continuous zigzag pattern. This pattern creates a more distinct and structured look. It's often used with rectangular tiles for a modern and sophisticated design.
5. Basket Weave: The basket weave pattern consists of sets of two tiles placed together to form a square. The following set of two tiles is placed perpendicular to the previous set, creating a woven or checkerboard effect. This pattern works well with square tiles and adds texture and depth to the floor.
These are just a few examples of porcelain tile laying patterns, and there are many more design options available. When choosing a pattern, consider the tile shape, size, and the overall style of the room. It's also important to plan the layout in advance, considering the dimensions of the space and any architectural features to ensure a visually appealing and balanced result.
What is a slurry primer for porcelain tiles?
A slurry primer, also known as a slurry bond coat or slurry coat, is a type of primer used in construction and tile installation. It is typically a mixture of cement or a cementitious material and water, creating a thick, creamy consistency.
Slurry primers are commonly used in various applications, including:
1. Substrate preparation: Slurry primers are often applied to porous or absorbent substrates, such as concrete, cementitious screeds, or certain types of masonry, before tile installation. The slurry primer helps to seal the substrate, reduce its porosity, and provide a suitable bonding surface for the adhesive.
2. Levelling and smoothing: Slurry primers can be used to level and smooth uneven or rough surfaces. By filling in gaps, cracks, or imperfections in the substrate, they create a more even and stable base for the subsequent tile installation.
3. Bonding enhancement: Slurry primers improve the bond between the substrate and the tile adhesive. The application of the slurry coat creates a rough surface texture, increasing the contact area and enhancing the adhesion between the substrate and the adhesive.
Are porcelain pavers expensive to buy?
Porcelain pavers can vary in price depending on various factors, including the brand, design, size, thickness, and quality of the pavers. Generally, porcelain pavers tend to be more expensive compared to other paving materials like concrete or natural stone. However, it's important to consider their long-term value and benefits when evaluating their cost.
Here are some factors that contribute to the cost of porcelain pavers:
1. Material Quality: Higher-quality porcelain pavers, often made with premium materials and advanced manufacturing techniques, can come at a higher price. They may offer better durability, resistance to stains, fading, or other features that justify the cost.
2. Design and Aesthetics: Porcelain pavers are available in a wide range of designs, finishes, and styles, including replicating the look of natural stone or wood. Intricate designs, unique patterns, or specialized finishes may increase the cost of the pavers.
3. Size and Thickness: The size and thickness of porcelain pavers can affect their price. Larger or thicker pavers may require more material and manufacturing processes, leading to higher costs.
4. Installation Considerations: Porcelain pavers typically require professional installation due to their weight, size, and specific installation requirements. The cost of installation, including labour, tools, and materials, should be factored into the overall cost.
5. Additional Features: Some porcelain pavers may come with additional features, such as anti-slip properties, enhanced stain resistance, or compatibility with specific installation methods like raised pedestals. These features can add to the overall cost.
It's worth noting that while porcelain pavers may have a higher upfront cost compared to other materials, they often provide long-term value and cost savings. Porcelain pavers are highly durable, resistant to stains, fading, and require minimal maintenance. They can also offer excellent performance in terms of durability and longevity, making them a cost-effective choice in the long run.
How to install porcelain patio pavers myself?
Installing porcelain paving requires careful preparation and proper installation techniques. Here's a general guide on how to install porcelain paving:
1. Prepare the area:
- Ensure that the ground or substrate is stable, well-compacted, and free from any debris or vegetation.
- Check for proper drainage to prevent water accumulation.
- If necessary, make any required adjustments to the substrate, such as levelling or sloping.
2. Gather the necessary tools and materials:
- Porcelain pavers
- Sand or an appropriate bedding material
- Concrete or porcelain tile adhesive
- Trowel
- Rubber mallet
- Spirit level
- Jointing compound or sand for filling the gaps between pavers
- Soft brush or broom
3. Install the bedding layer:
- Spread a layer of sand or an appropriate bedding material over the prepared substrate. Ensure the thickness is suitable for your specific project (consult manufacturer recommendations).
- Use a rake or screeding board to level the bedding layer.
4. Lay the porcelain pavers:
- Start at one corner and place the first porcelain paver onto the bedding layer.
- Gently tap the paver with a rubber mallet to ensure it is level and properly bedded.
- Continue placing pavers, leaving a consistent gap (usually around 3-5mm) between each paver for jointing.
- Regularly check the alignment and levelness of the pavers using a spirit level.
5. Cut and shape the pavers:
- Measure and mark any pavers that need to be cut to fit along the edges or around obstacles.
- Use a wet tile saw, angle grinder with a diamond blade, or other appropriate cutting tools to cut the pavers to the desired size and shape.
- Take proper safety precautions when cutting, such as wearing safety goggles and gloves.
6. Adhere the pavers (if necessary):
- Depending on the specific project requirements and the type of porcelain pavers being used, you may need to apply adhesive to ensure secure bonding.
- Follow the manufacturer's instructions for the adhesive application, including coverage and curing times.
7. Fill the gaps and finish:
- Once all the pavers are in place, fill the gaps between them with a jointing compound or grout. Ensure the joints are properly filled and compacted.
- Use a soft brush or broom to sweep away any excess jointing compound and clean grout from the surface of the pavers.
8. Allow for proper curing:
- Follow the manufacturer's recommendations for curing times to allow the adhesive and jointing compound to fully set and harden.
- Avoid walking or placing heavy loads on the newly installed porcelain paving until it is fully cured.
It's important to note that these are general guidelines, and specific installation instructions may vary depending on the manufacturer's recommendations and the specific conditions of your project. It's recommended to consult the manufacturer's guidelines and, if necessary, seek professional advice or assistance for the best results.
