How To Lay Porcelain Paving?
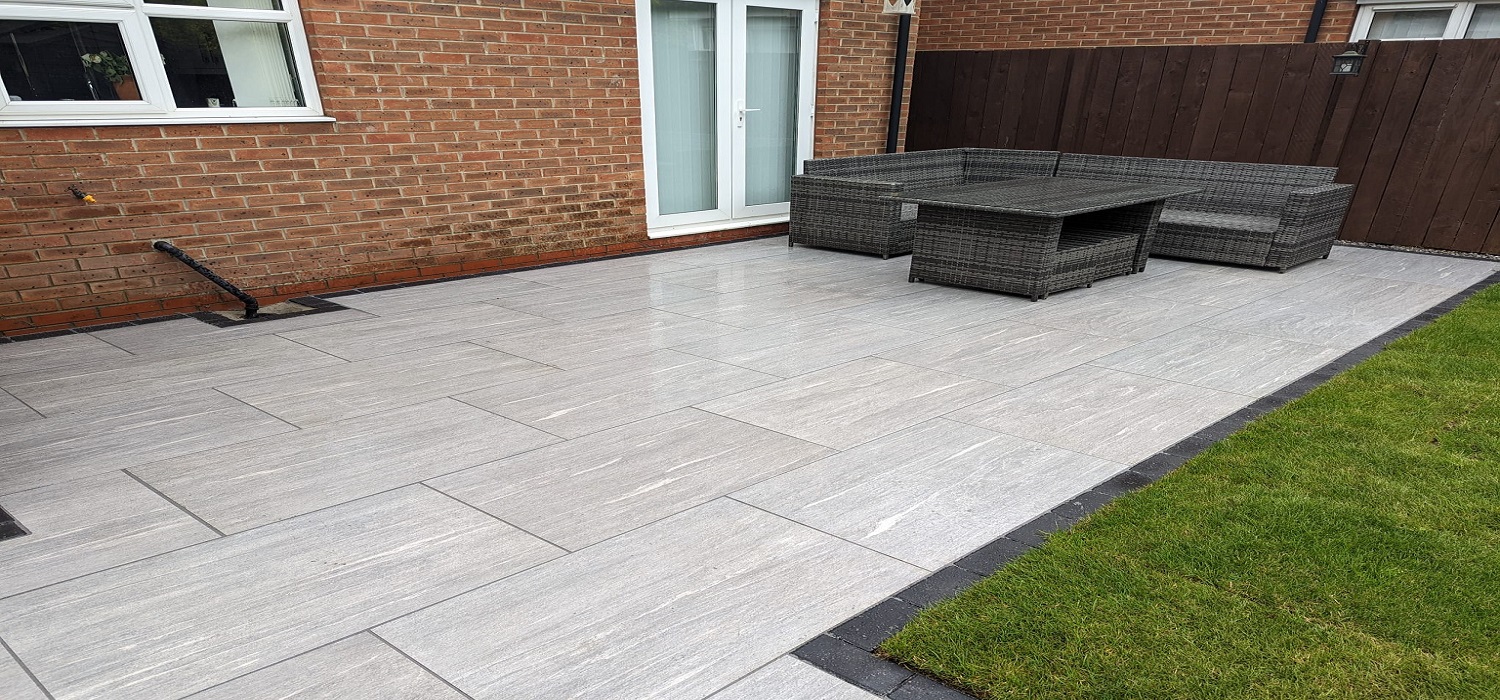
How To Lay Porcelain Paving?
Porcelain paving is new to the UK and currently there are no hard and fast set rules for the installation method.
Firstly, porcelain is a tile and not a paver. It should therefore be installed using the correct method. Most paving materials pull in water during the installation however porcelain has such a low water absorption rate, and therefore it requires a different installation method.
What is Porcelain Paving?
Porcelain Paving is created by baking a mixture of clay, sand and other minerals in a high-temperature kiln. This method creates an incredibly durable and non-porous material, otherwise known as Porcelain Paving. As it is an extremely controlled manufacturing process, the ability to create a wide variety of shades and textures is possible.
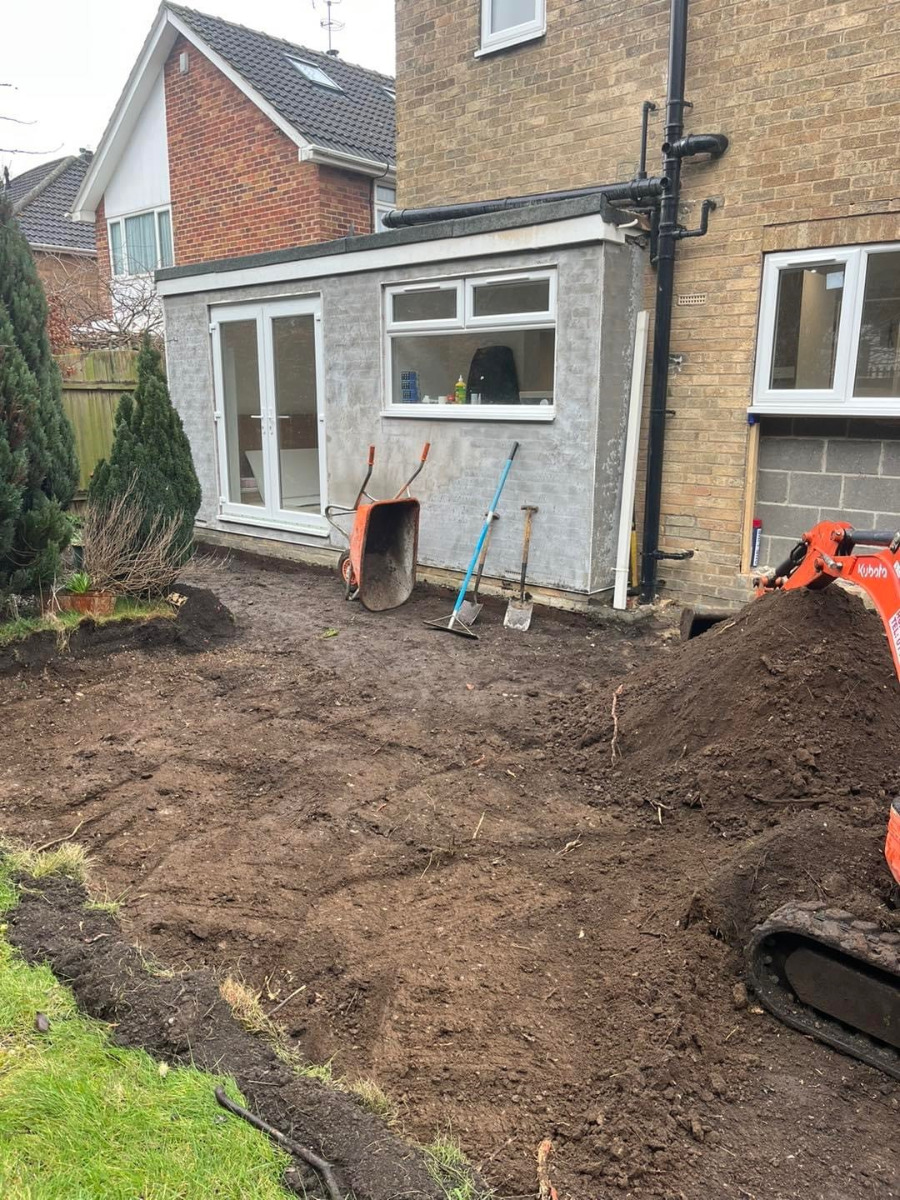
Dig Out Excavation
Firstly, start be excavating your patio area using either a mechanical digger or by hand using a shovel. The Area should be dug out to a minimum depth of 150mm below your intended finished height of a completed patio area.
Please note your finished level must be 2x course of bricks below the level of the DPM (damp proof membrane)
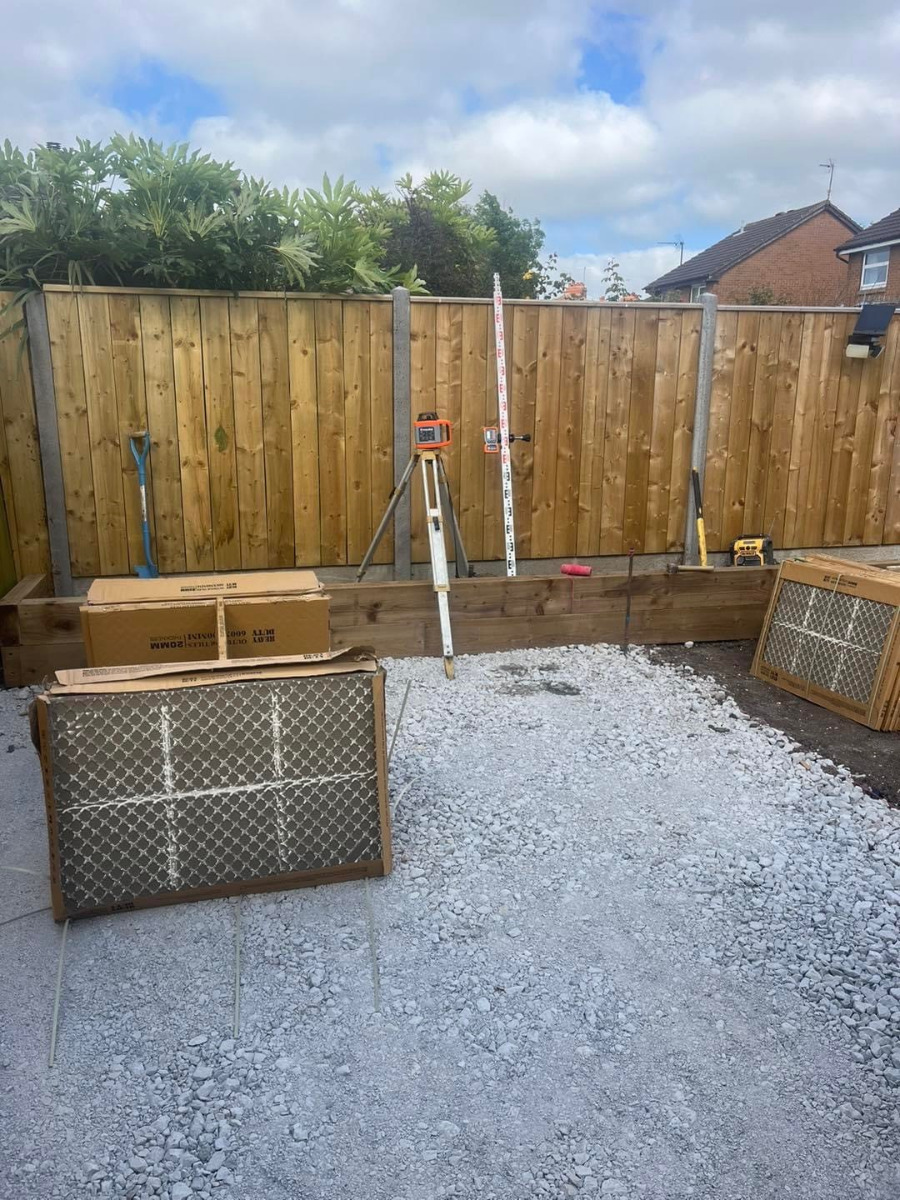
Sub Base Installation
Install 100mm MOT crushed Type 1 sub base hardcore aggregate and compact with a whacker plate. For best results we recommend doing this in two 50mm sessions and compacting each time. This area is now ready for the porcelain installation.
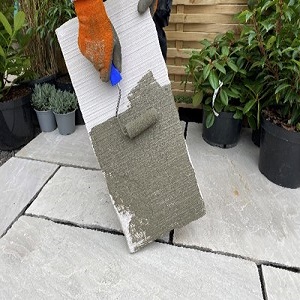
Slurry Primer
The slurry primer is to be mixed to a paste simply with water in a bucket to create a slurry consistency. The primer is then simply coated onto the back of each individual porcelain tile using a roller or brush. Remember to coat the full back area of the porcelain tile. Please remember to paste each tile just before laying them, do not paste each tile and wait for the slurry to dry.
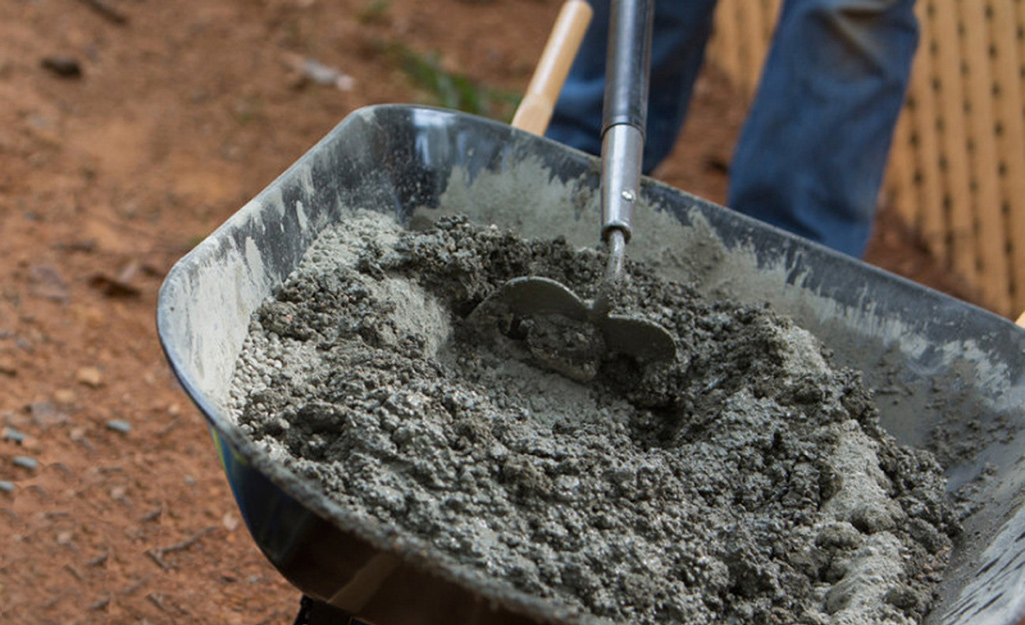
Bedding Mortar
You will need a cement mixer for this part.
Mix your bedding mortar in a simple ratio of 5:1
5 x level buckets of sharp sand –
1 x level bucket of cement.
This is to be mixed with water in a cement mixer until creating a smooth creamy pliable mix.
Please note on hot sunny days you can add more water to make the mix wetter.
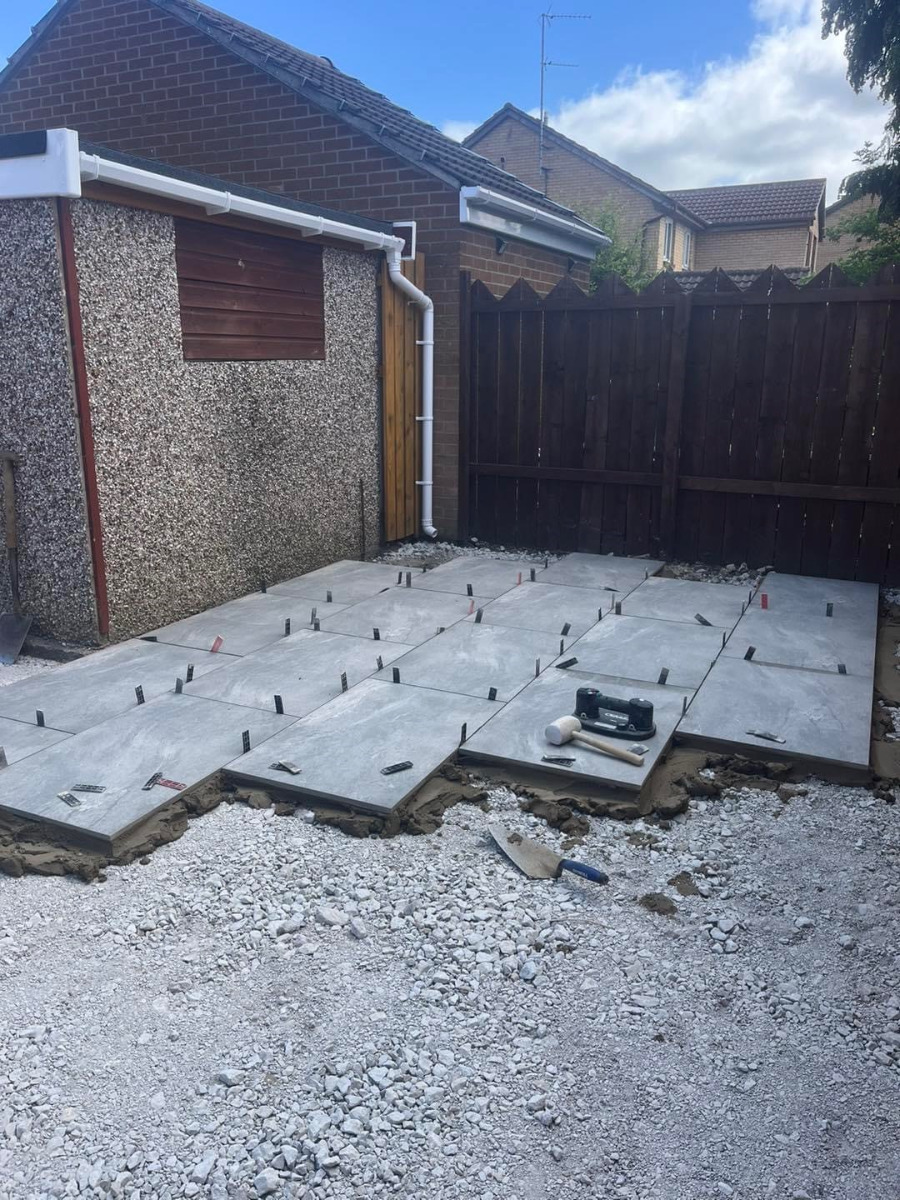
Installing the Porcelain
Shovel out the mortar onto the prepared mot type 1 hardcore sub base area ensuring working to a string line.
A full wet mortar bed is needed when installing porcelain.
Place your porcelain tile onto the mortar bed and gently tap down using a rubber mallet.
Make sure your slurry primer is wet on the back of the tile – remember ‘wet back onto wet mix’.
Always work to a tight string line to ensure its perfectly level with a subtle incline away from the property or towards a drain channel.
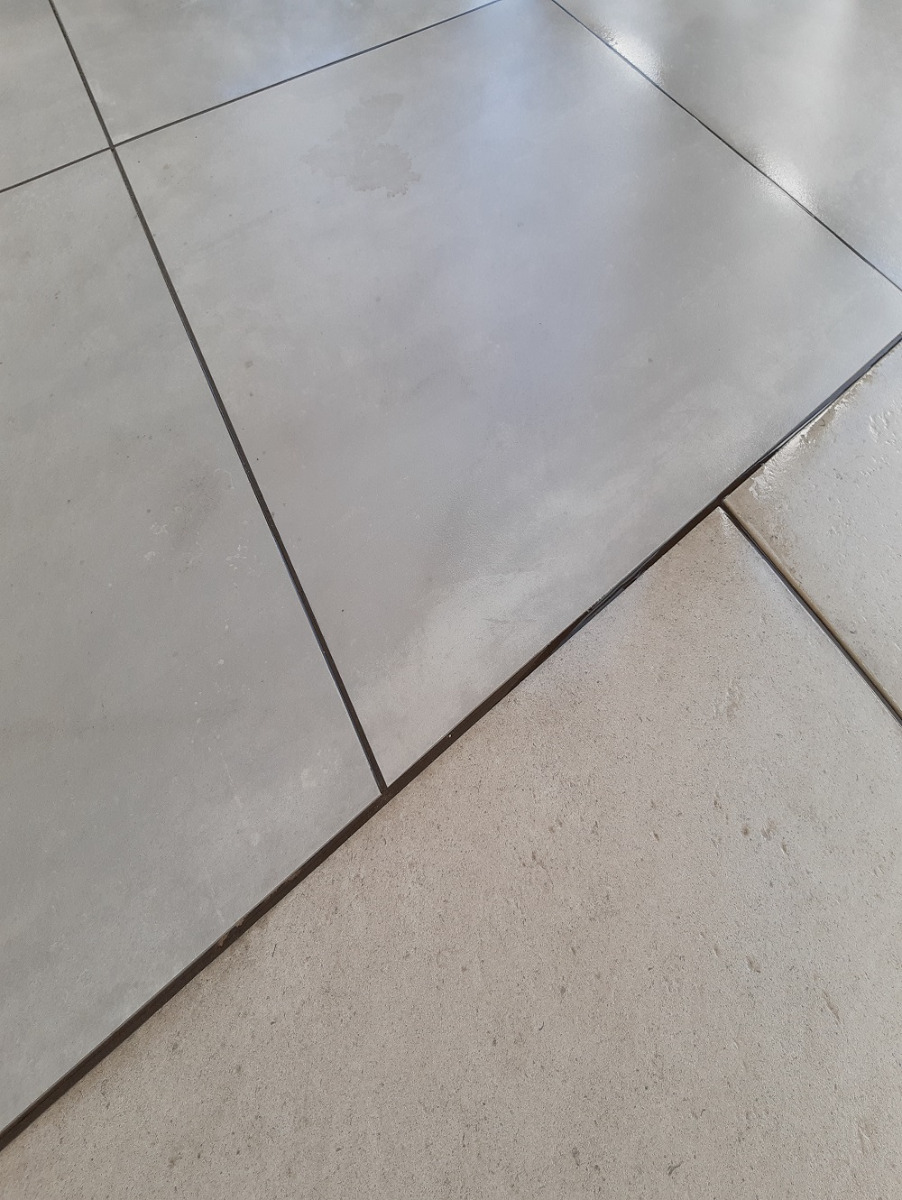
We advise using tile spacers to ensure matching joint widths.
Tile spacers can vary from 4mm – 10mm for porcelain paving best results.
Please see our which patio grout I should choose blog post here.