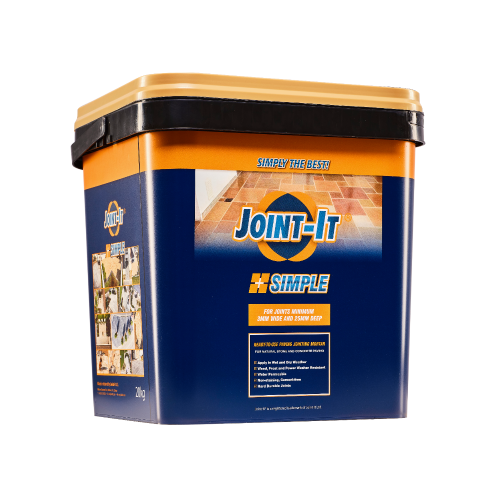
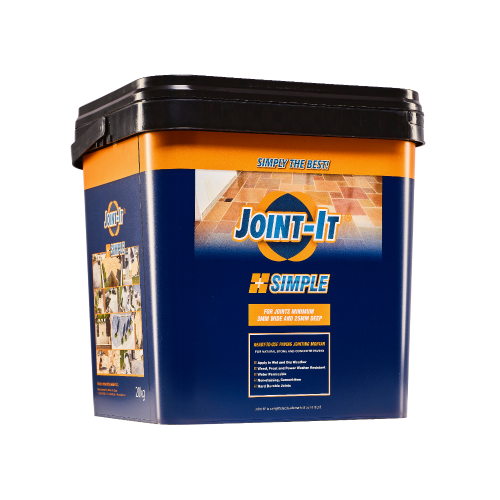
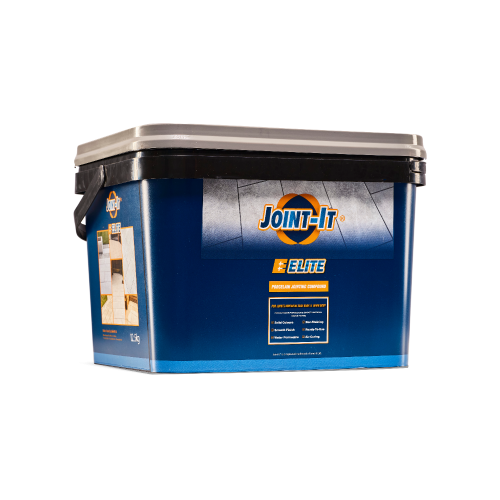
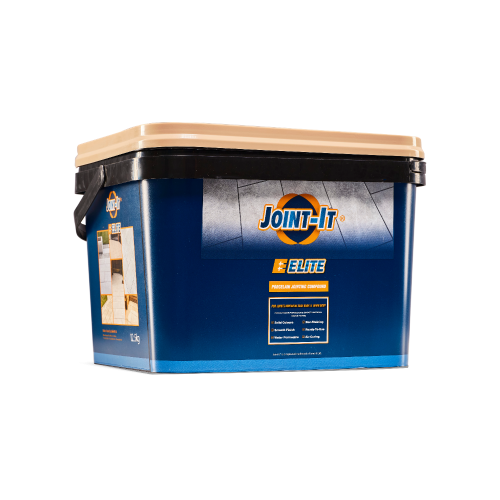
Brush-in Jointing Compounds
Brush in Jointing compounds have been very popular over the last few years, the reason for this is the ease of installation and the fact that they do not stain the paving during the installation process.
You simply follow the instructions on the tub, wet the surface with a hosepipe and then simply brush the compound into the joints, strike in and then pronto…job done.
Speak to a member of our friendly sales team today on 01482 688008 or Email sales@meltonstone.co.uk
-
 £42.50+ VAT Each
 -
 £42.50+ VAT Each
 -

 £42.50+ VAT Each
 -
 £35.00+ VAT Each
 -
 £35.00+ VAT Each
 -
 £35.00+ VAT Each
 -

 £42.50+ VAT Each
Brush In Jointing Compounds
Can I use pressure washer on resin grout joints?
Using a pressure washer on resin grout joints is generally not recommended. Resin grout is typically more delicate and can be more susceptible to damage compared to other types of grouts. Here's why:
1. Pressure damage: High-pressure water from a pressure washer can be too forceful for resin grout joints, potentially dislodging or damaging the grout. The intense pressure can cause the grout to erode or wear away, leading to gaps or weakening of the joint.
2. Resin erosion: Resin grout is composed of a mixture of resin and other materials, which can be sensitive to high-pressure water. The force of the pressure washer can strip away or degrade the resin component, compromising the strength and integrity of the grout joint.
3. Discoloration: Pressure washing can also lead to discoloration of resin grout joints. The high-pressure water can dislodge or mix in dirt, debris, or staining substances, causing the grout to become discoloured or stained.
If you need to clean resin grout joints, it's generally recommended to use alternative methods that are gentler and less likely to cause damage. Here are a few options:
1. Soft brush or scrubbing pad: Use a soft-bristle brush or a scrubbing pad along with a mild detergent or grout cleaner to manually scrub the grout joints. This method allows for more control and reduces the risk of damage compared to using a pressure washer.
2. Low-pressure water: Instead of a pressure washer, use a garden hose or a low-pressure sprayer to rinse the grout joints. Adjust the water pressure to a gentle flow that can help remove loose dirt or debris without causing harm to the grout.
3. Grout stain removers: If the grout joints have stubborn stains, you can try using a specific grout stain remover recommended for use with resin grout. Follow the manufacturer's instructions and test the product in a small, inconspicuous area before applying it to the entire grout joint.
Remember to always follow the manufacturer's instructions for cleaning and maintenance of your specific resin grout product. If you have concerns or questions, it's best to consult with the grout manufacturer or a professional installer for guidance specific to your project and the resin grout used.
Is brush in grout good for sandstone slabs?
Brush-in grout can be suitable for sandstone slabs, depending on the specific product and the requirements of your project. Here are some considerations to keep in mind:
1. Joint width: Brush-in grout is typically recommended for narrow joints, typically up to 6mm wide. If the joints between your sandstone slabs are narrower than this, brush-in grout can work well to fill and stabilize the joints.
2. Porosity of sandstone: Sandstone is a natural stone with varying levels of porosity. Some sandstone varieties may be more absorbent than others. Before using brush-in grout, ensure that your sandstone slabs are properly sealed or treated to minimize the risk of the grout penetrating and staining the surface of the slabs.
3. Compatibility: It's important to choose a brush-in grout that is compatible with sandstone and suitable for outdoor applications. Check with the manufacturer or supplier to ensure that the grout you choose is recommended for use with sandstone and that it meets your project's specific requirements.
4. Application and maintenance: Follow the manufacturer's instructions for the proper application and maintenance of the brush-in grout. This may include preparing the surface, ensuring the joints are clean and dry, and applying the grout evenly. Regular maintenance and cleaning, including prompt removal of any spills or stains, will help keep the sandstone slabs and grout in good condition.
It's always a good idea to consult with professionals, such as manufacturers, suppliers, or experienced installers, who can provide guidance based on their expertise and knowledge of the specific brush-in grout options available and the characteristics of sandstone. They can help you choose the most suitable grout for your sandstone slabs and ensure a successful installation.
Does brush in resin grout set solid?
Brush-in resin grout typically sets to a solid state, providing stability and durability to the paved area. Resin grout is designed to cure and harden, creating a solid bond between the paving slabs or tiles. Here's what you need to know about the setting characteristics of brush-in resin grout:
1. Curing time: The exact curing time for resin grout can vary depending on factors such as temperature, humidity, and the specific product used. Typically, resin grout will begin to set within a few hours after application, and full curing can take anywhere from 24 to 48 hours or longer. It's important to refer to the manufacturer's instructions for the specific product you are using to determine the recommended curing time.
2. Flexibility: Resin grout is designed to have a degree of flexibility to accommodate slight movements and shifts in the paving surface. This flexibility helps to prevent cracking or dislodgement of the grout when the pavers expand or contract due to temperature changes or ground movement.
3. Strength and stability: Once fully cured, resin grout provides strength and stability to the paved area. It forms a solid bond between the paving slabs, helping to distribute loads and maintain the overall structural integrity of the installation. This solid setting ensures that the grout remains in place and prevents shifting or movement of the pavers.
4. Resistance to water and weathering: Resin grout is typically water-resistant and can withstand exposure to moisture, rain, and temperature fluctuations without significant degradation. This resistance to water and weathering helps maintain the solidity and durability of the grout over time.
Proper installation, including following the manufacturer's instructions and using the correct mixing ratios, is crucial for achieving the desired solid setting and optimal performance of the resin grout. It's also important to allow sufficient curing time and avoid subjecting the grout to heavy loads or excessive traffic until it has fully cured.
Always refer to the specific manufacturer's instructions and guidelines provided with the resin grout product you are using for the most accurate and up-to-date information on its setting characteristics and recommended curing time.
Does brush in resin grout stain paving slabs?
Resin brush-in grout, when used and applied properly, typically does not stain or discolour paving slabs. Resin grout is specifically formulated to be stain-resistant and resistant to colour fading. However, it's important to note that improper installation or maintenance practices, as well as certain environmental factors, can potentially lead to staining or discoloration. Here are some factors to consider:
1. Proper installation: Following the manufacturer's instructions and recommendations for the resin brush-in grout is essential for achieving optimal results. This includes using the correct mixing ratios, applying the grout evenly, and ensuring thorough cleaning and sealing of the paving slabs prior to grouting.
2. Cleanliness during installation: It's important to keep the paving slabs clean and free from debris during the grouting process. Excess grout or residue left on the surface of the slabs can potentially lead to staining or discoloration.
3. Sealing the paving slabs: Sealing the paving slabs before grouting can provide an added layer of protection against potential staining. Sealing helps to create a barrier that makes it easier to clean off any grout residue that may come into contact with the surface.
4. Maintenance and cleaning: Regular maintenance and cleaning of the paving slabs, including prompt removal of any spills or stains, can help prevent potential discoloration. Using appropriate cleaning methods and products recommended by the manufacturer can help maintain the appearance of the slabs and grout.
5. Environmental factors: Certain environmental factors, such as exposure to harsh chemicals, heavy pollution, or excessive sunlight, can potentially affect the appearance of both the paving slabs and the grout over time. Taking appropriate measures to protect the paved area from these factors, such as regular cleaning and applying protective coatings or sealants, can help minimize the risk of staining or discoloration.
It's important to follow the specific recommendations provided by the manufacturer of the resin brush-in grout and consult with professionals if you have any concerns or specific questions about the potential for staining or discoloration with your paving slabs.
